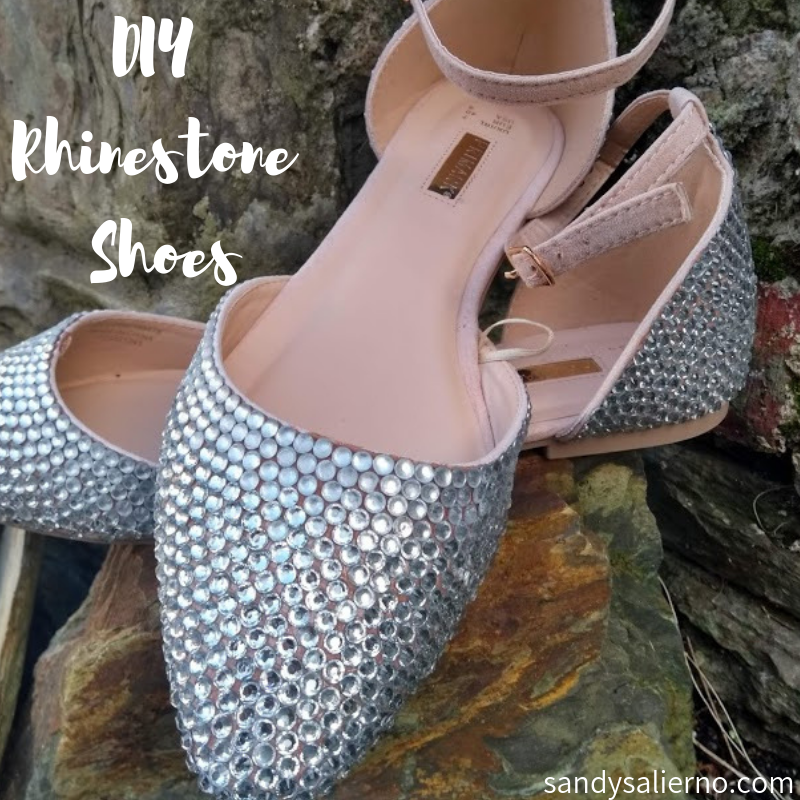
Rhinestone Covered Shoes
Rhinestones are amazing. One of the best things in the world has got to be shoes covered in just so much sparkle. I’m bad at approximating supplies, but I knew this would probably take quite a few rhinestones so I ordered… 20,000 of them. It was a bit excessive. But, I mean, I’ll always have a use for rhinestones, right?
You’ll need your shoes, I got these at Penney’s, glue, and rhinestones. Not pictured, a good source of entertainment because this one takes a while. I decided to watch Friends for the ten thousandth time.
Then, you just glue rhinestones to the shoes. Repeat. Repeat. Repeat some more.
There isn’t much of a tutorial, because, well, it’s glueing things to things.
However, there are some things to note.
Glue
Apparently, E6000 is impossible to get in Ireland, so I started with a super glue we got at Lidl. It was a liquid, it was messy, and it made the top gems look less than sparkly. It’s super inflexible… and I just hated it. The t-strap dried so hard and inflexible it was unwearable and I had to cut it off. Do not use the glue in the picture for this project.
I ended up getting Gem-Tac when we were in town and it worked so much better. It dries clear for max sparkle, it’s a bigger bottle, and it stayed flexible. It also just feels nicer when dry and came off my fingers SO much easier.
I need to see how the Gem-Tac wears, but honestly if you have E6000, use it. It’s really an irreplaceable glue.
Gems
While I’d love to one day repeat this project in Swarovski crystal, with my current budget a plastic rhinestone is a plastic rhinestone. I used a 5mm stone I got on AliExpress. I’d definitely order from them again. They came super quick, were cheap, and out of the 2 packs I finished and the third pack I started there were only 8 “mistake” stones- a few with the backing on the wrong side, no backing, or this kind of malformed one that looks like a bit like a cabochon. Honestly, I kind of wish I could buy the mistakes in bulk- I kind of like them, so I’m hoping by the time I get through all 20 bags I’ll have enough to do something with the rejects.
I used a 5mm stone, but if I had to do it again I’d consider a 2 or 3mm. Don’t get me wrong, these look really good and I’m happy with how they turned out, I just wonder if they would possibly look a bit more elegant with a smaller stone.
My shoes after the drop. Notice how the top rows (where I used the liquid glue) are less sparkly than the bottom Gem-Tac’d sections.
Drop ’em
This is one of the weirdest craft things I’ve ever done, but it works. When you’re done glueing all your stones on drop your shoes from as high as you can. This will shake off all the gems that aren’t as glued on and will allow you glue them on now, in your home, while you have plenty of glue to fix them instead of when you’re wearing them and they fall off in the street.
I’d definitely recommend this project, it’s easy, a great boredom buster, pretty cheap, and the results are amazing.


